


Step to follow when the microphone is not working in Windows 10
From the first, microphones were utilized to enhance the human voice to address bigger gatherings of individuals. The principal gadgets were called amplifiers, yet today, mouthpieces are valuable to record sound, give discourse acknowledgement highlights, and are used to talk with companions, family, and partners utilizing different applications and gadgets.
Most current workstations have interior microphones thus you don’t have to interface extra gadgets to your PC. Notwithstanding the ubiquity of mouthpieces, numerous clients experience issues with them - receivers do not have proper sound, unfit to utilize Skype and other comparative applications, and so on This issue has gotten more predominant after the presentation of the Windows 10 Creators update. There are different purposes behind receiver issues (inward or outside): off base drivers introduced; issues with the Windows working framework; equipment issues, and so on.
Many headset users often report that their headset microphone is not working. As a result, they cannot talk to people on their microphone. There may be several reasons why Windows 10 is unable to hear your microphone. Therefore, all PC microphone related troubleshooting is essential. Windows 10 contains several system-wide options that disable microphone input in all applications. If you are also experiencing similar problems then take a look at our guide to assist you in fixing this issue.
Step 1: Allow your windows 10 to access your microphone
Windows 10 has a few settings that disable your microphone system. If your webcam is disabled in the settings, even then, desktop application’s can’t receive the input of your microphone.
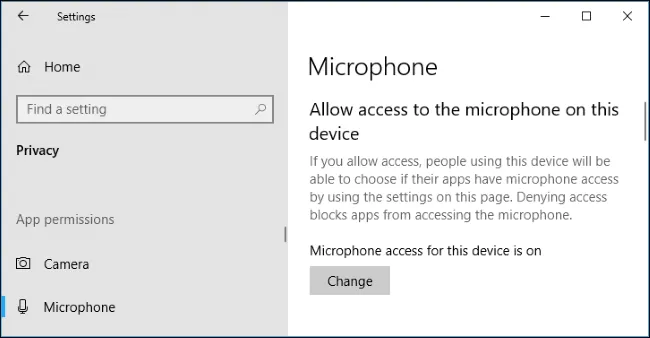
If your microphone is not working then, head to Settings > Privacy > Microphone.
Look at the top of the window for Microphone access for this device is on. If Windows says microphone access is off, click the “Change” button and set it to “On.” Because the access is off, Windows and all applications on your system can’t access audio from your microphone.
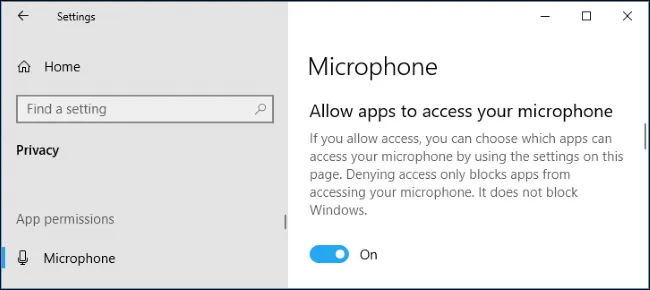
Now ensure that the Allow apps to access your microphone is set on. If microphone access is off, all applications on your system won’t be able to hear audio from your microphone. However, the Windows operating system itself will still have access.
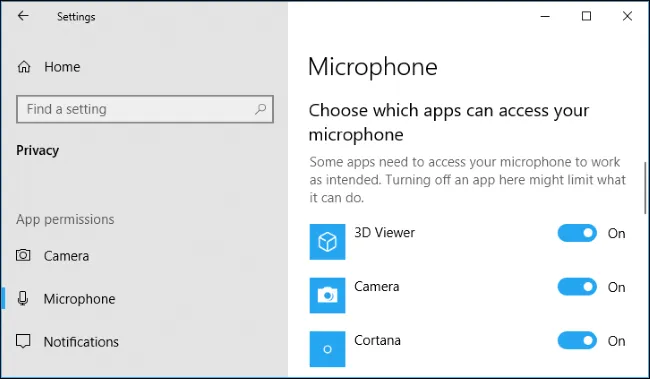
Now, choose which apps you want your microphone to access and double-check that the ones to which access to the microphone is not listed and it is set off, you turn this on.
Now, you can see that only new-style apps have access to microphone setting on and older or traditional applications will never appear in the list.
Step 2: Setting the microphone device as default
It could be that the headset you are using is not set as a default device on your computer. Or it could be that the microphone volume could be set so low that you are unable to hear anything. It is better to double-check this.
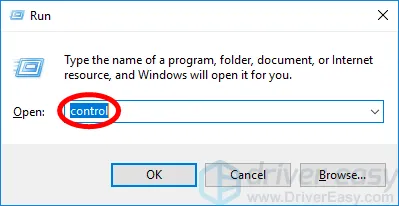
To do this hold the Windows key and simultaneously press the R key on the keyboard. This will bring the run dialogue, then type control and press enter.
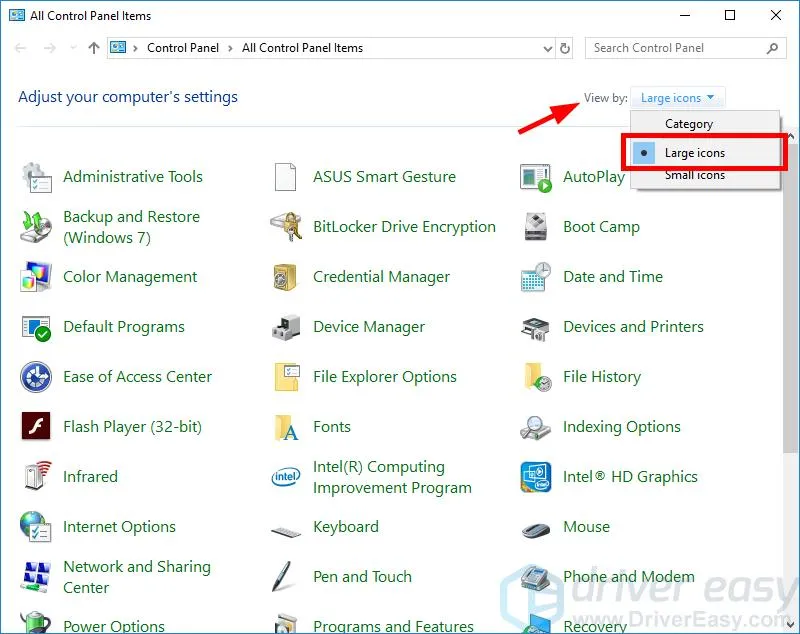
Go to the control panel and select large icons from the view by the drop-down box.
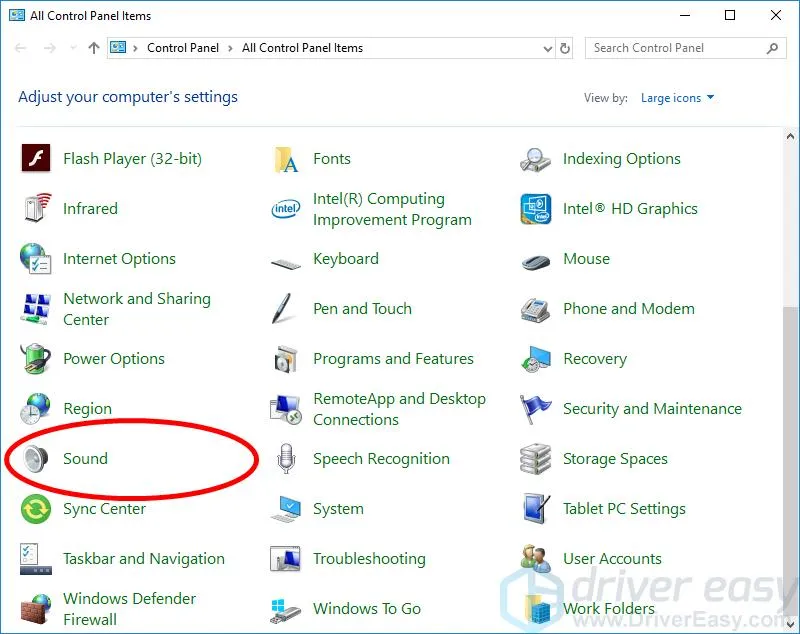
Now, select sound.
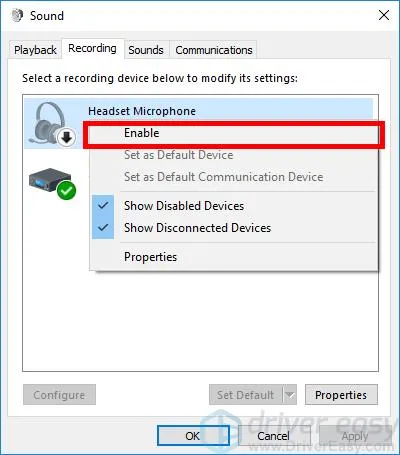
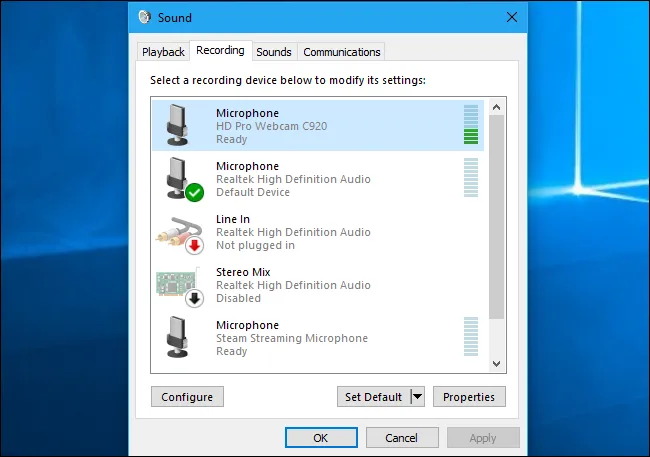
Now, select the recoding tab, after that right-click anywhere and tick show disabled devices available.
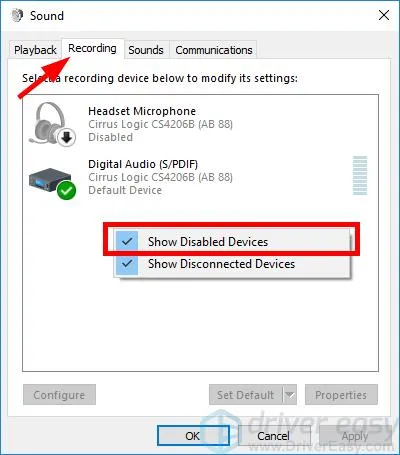
Now, click on the headset microphone and enable the device.
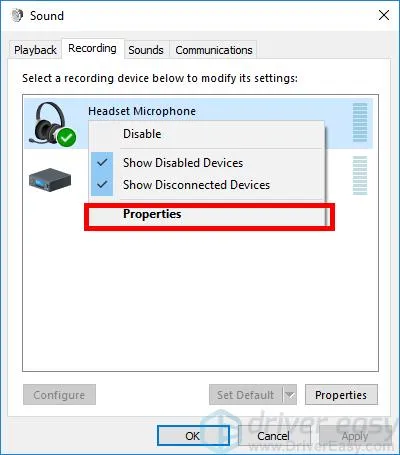
Now click on the headset microphone and check its properties.
Now, you can control the volume of the microphone. So set it as per your preference.
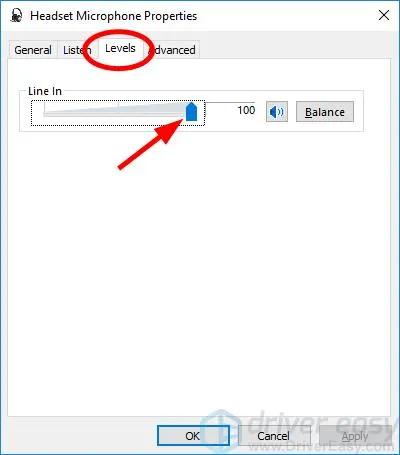
Finally, click ok.
Once you follow these steps your microphone will be enabled and be set as a default device. Now try to check if it works or not.
Step 3: Installation or updating the drivers available
Usually, Windows 10 tries to update the drivers automatically. Sometimes it works fine but sometimes it does not.
If the problems persist, you might want to check with your PC manufacturer and try to install the latest sound drivers that are available and compatible with your PC or laptop. In case your PC is an assembled one, in that case, you may want to check with the motherboard manufacturer. Updating the drivers could fix the problems.
If the problem persists, it could be due to the USB. In that case, you may want to download the latest USB controller from your PC or laptop manufacturer’s website.
Step 4: Check the connections physically
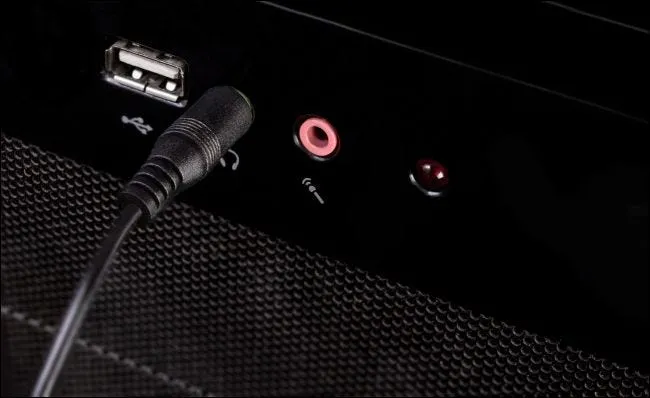
Sometimes the loose connection of your microphone may be the culprit why you are unable to hear any sound. If the connection is loose, it may appear to be plugged in but will not actually work. In this case, just pull the plug out and safely insert it back into the audio jack of your laptop or pc.
Now look for labelled audio in sign. Usually, the output audio jacks are green in colour, and the microphone input jacks are pink in colour.
Some microphones may also have mute switches. For example, we’ve seen PC audio headsets with microphone mute switches on their cables. The microphone won’t work if it has a mute switch that’s enabled.
Step 5 Using the sound control panel
While testing your sound control we would recommend you to use the Recording tab on the Sound control panel in Windows.
To open it, right-click the sound icon in the notification area and click on it.
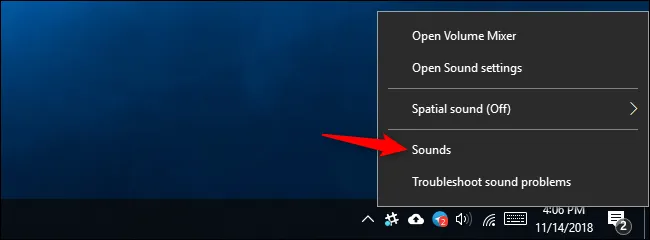
Once you click the recording icon, you can see the various recording devices attached to your laptop or PC. Try to speak out loud and check if the audio indicator level on its right move.
Now, look at this window as you play with your microphone and try to test the audio inputs. This will allow you to see if your microphone is sending any audio input or not.
Step 6: Let us restart the windows audio service
Windows Services (also known as services.msc), are used to modify how Windows services run on your system. These services are responsible for managing many system setting as well as resources.
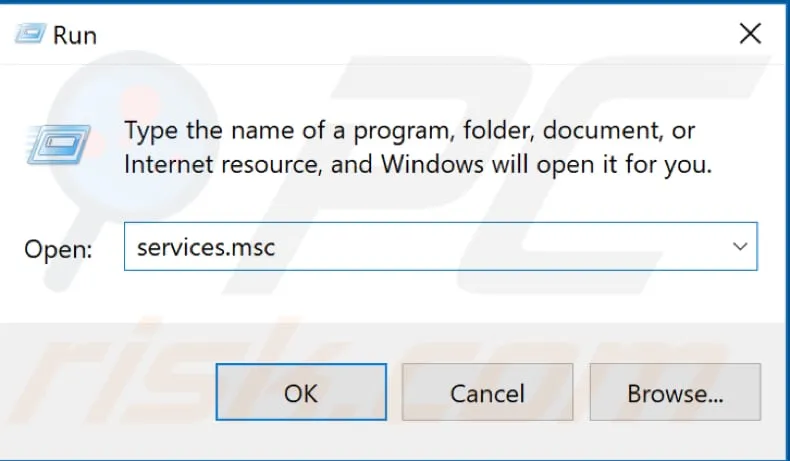
You can modify service settings for security or troubleshooting purpose. Windows Audio service manages audio for Windows-based programs. If this service is stopped, audio devices and effects will not function properly. To restart this service, in case it is disabled, press the Windows key + R on the keyboard or type run in Search and click the “Run” result to open the Run dialogue box. Once it is open, type “services.msc” and press Enter on your keyboard or click “OK”.
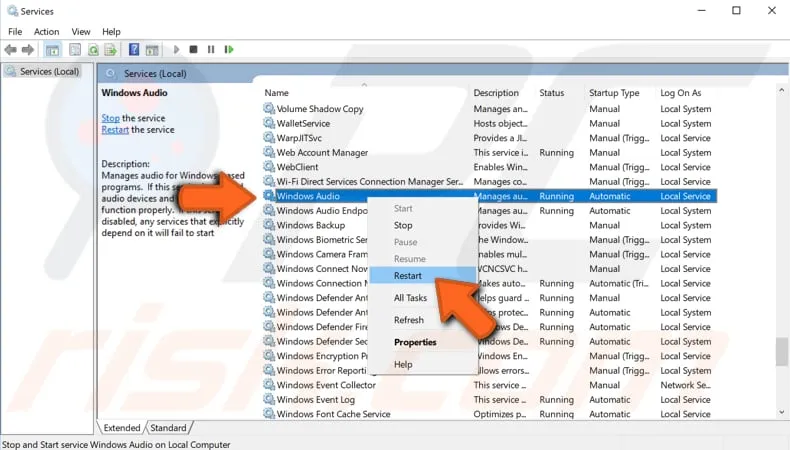
Once the service menu opens, you will see a list of Windows services. Now find the Windows audio and right-click on it.
Now, in the services window, you will be able to see a list of Windows services. Find Windows Audio service and right-click on it. Now select Restart. Alternatively, you can also, select Stop and right-click on it again and select Start. This should solve your microphone issue.
If it still does not work then right-click on Windows audio service and select Properties from the menu. Now check if the startup type is set to automatic. If not then just set it to automatic and save the changes. Now just restart the PC or Laptop and see if this issue is solved or not.

Step 7: Restoring your system
The system restore tool creates points for restoration. A restore point is a collection of important system files stored by System Restore on a given date and time. System Restore reverts everything to a saved restore point, but first, you must have one recorded. In case a restore point is not available on your laptop then the system restore has nothing to revert to. To use this tool, you should have system restore points. Now create a system restore point and this will enable your system to go to the previous state without affecting the files and data.
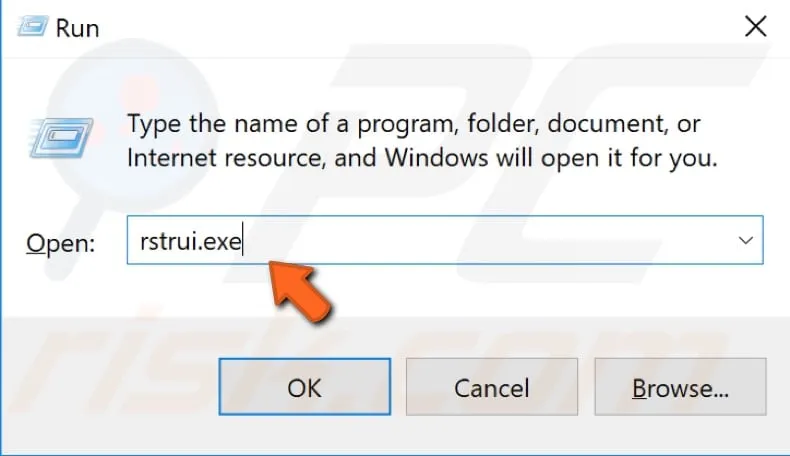
Apply this method only if your, microphone has stopped working very recently. For example, if this problem occurred after you updated Windows. If you have any system restore points that were created before you started experiencing issues with the microphone, you might be able to fix the problem by performing a System Restore. launch Run by pressing the Windows Key + R and type “rstrui.exe”. In the Run dialogue box, press enter and ok.
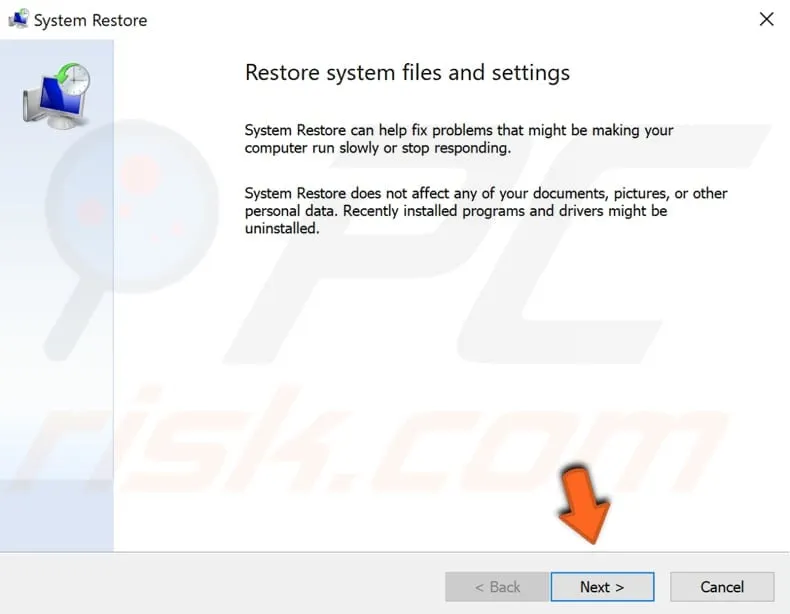
Now click Next in the system restore window.
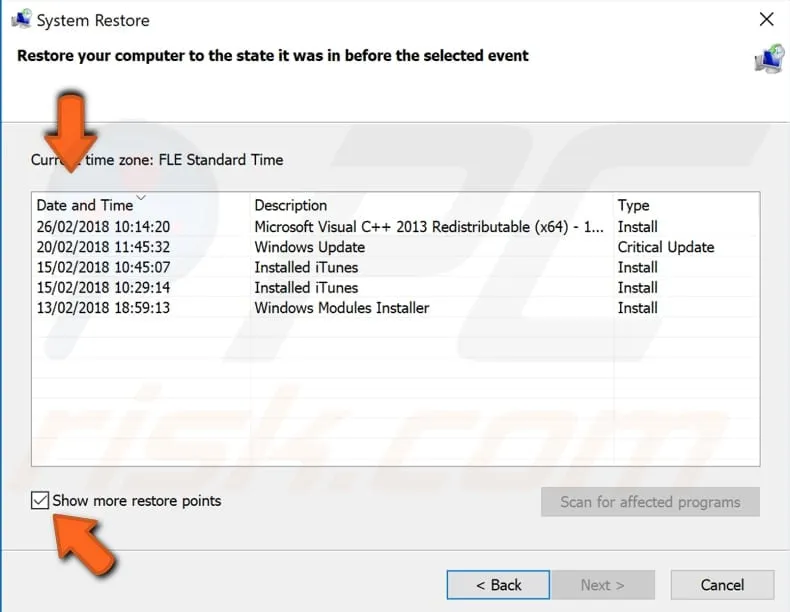
You will be able to see a set of restore points if they are created. Now, mark the show some restore points menu now. Now select the most appropriate restore point and click Next. Do not select a Restore Point at a time when the problems with your microphone were already present - you certainly do not want to revert to that state.
Now confirm the Restore point and your computer will now get restored to the previous state. Now if you are satisfied, click the finish option to complete the restoration process.
Step 8: Run the Windows Troubleshooter
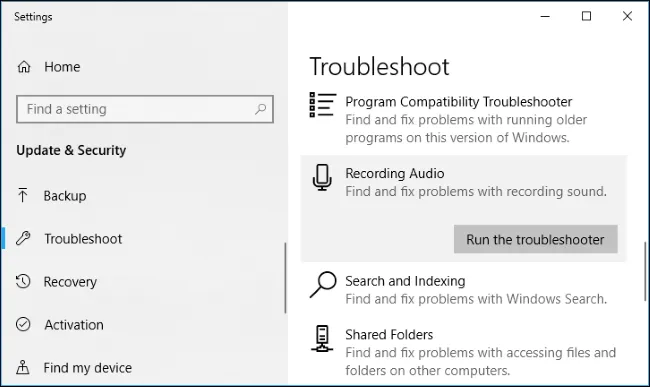
Now, Windows 10 has an inbuilt troubleshooter that tries to troubleshoot on its own whenever it finds any faults with recording audio automatically. In order to troubleshoot, head to Settings > Update & Security > Troubleshoot. Select the “Recording Audio” troubleshooter, click “Run the Troubleshooter,” and follow the instructions on your screen.
In case, this still does not work then, there may be clearly some hardware problem. Now try connecting your external microphone on some other laptop or PC to be double sure if it works or not. If it doesn’t work on the new device then surely the hardware of the microphone is broken. If the microphone works on a different PC or laptop, then there is a problem with your system. Try plugging it into a separate microphone input jack, assuming you’re using a PC with audio jacks on the front and back.